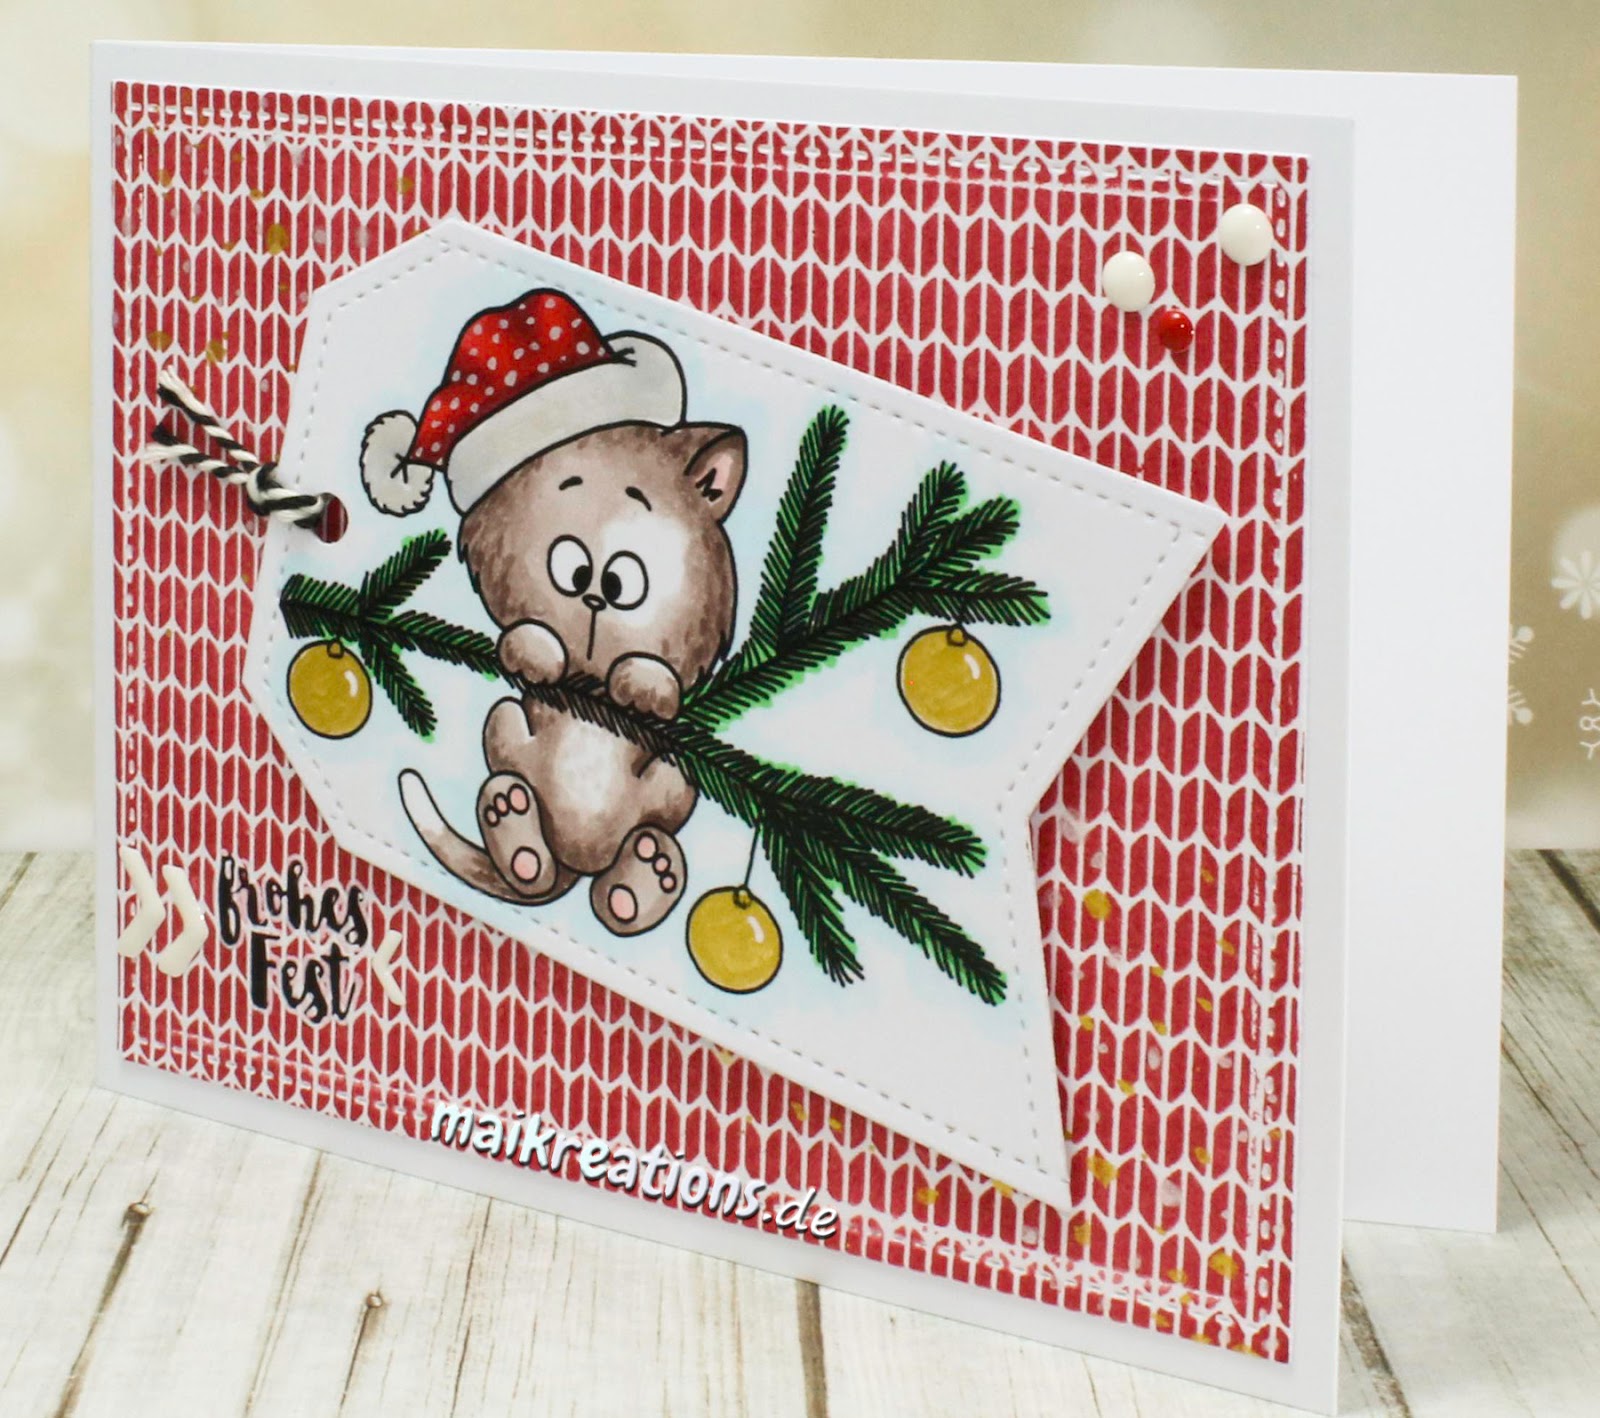
Halli Hallo ihr Lieben!
Ich freue mich sooo sehr euch heute mal wieder einen unserer Happy-Instagirls Blog Hops präsentieren zu können ;o))) Vielleicht wisst ihr ja, dass die Happy Instagirls eine Gruppe Mädels ist, die sich über's Liken und Kommentieren auf Instagram gefunden haben. Wir sind alle Kartenbastlerinnen und haben uns gedacht, es wäre doch klasse, wenn wir uns auch mal Karten zuschicken würden, um sie in den Händen halten und nicht nur auf dem Display bestaunen zu können. Und das haben wir nun schon ein paar Mal gemacht und jedes Mal gab es ganz wunderbare Werke zu bestaunen! Heute gibt es einen Blog Hop zum Thema Weihnachts- und Winterkarten und ich denke, dass auch dieses Mal eine ganze Menge Inspiration auf euch wartet ;o)
Heya my dear crafty friends!
I am delighted to be able to present to you a brand new Happy-Instagirls Blog Hop ;o))) Maybe you have heard of our group of girls who met on Instagram through liking and commenting on each others posts. We
thought it would be great if we could hold the cards in our hands and
not only look at pictures of them on our displays. And that is what we
did! There were a few hops already and there was always a lot to swoon
about and great inspiration as well. This time our blog hop theme is
winter and Christmas cards and I am sure that there are lots and lots of
awesome projects waiting for you ;o)
Diese wunderbare Winterkarte habe ich von der lieben Vanessa bekommen. Sehen diese vielen Ebenen nicht einfach fantastisch aus? Und die Mäuse sind zauberhaft süß, finde ich!!!
[Liebe Vanessa, vielen Dank für Deine tolle Karte - kurz nach ihrem Eintreffen hatte sie sich schon mit der Winterdeko angefreundet und passt ganz ausgezeichnet dazu ;o)]
Aber nun will ich euch nicht länger auf die Folter spannen... Hier ist das Werk von Vanessa:
This awesome winter card I got from sweet Vanessa. Look at all this dimension. Doesn't it look awesome? And those cute mice are just adorable!!!
I don't want to keep you waiting any longer.... This is Vanessa's beautiful card:
Ich war
Jeanins Karten-Wichtel und wollte ihr eine ganz besondere Freude machen, also habe ich frühzeitig angefangen und ihr eine Twist Pop Up Karte nach
Video-Anleitung von Maymay gemacht. Und das ist dabei herausgekommen:
I was Jeanin's Secret Santa and I wanted to create a special card for her so I started early and made a Twist Pop Up card for her following the video tutorial by Maymay. And this is what came out of it all:
Die Maße habe ich so angepasst, dass man auch mit A4-Papier arbeiten kann und nicht auf die US-Maße angewiesen ist, wenn ihr Interesse habt, erstelle ich gerne eine Grafik für euch mit den Maßen, die ich benutzt habe ;o) Die Motive sind aus dem Set "Come Let Us Adore Him" von Sugar Pea Design und ich finde sie absolut klasse. Eigentlich war es ein Ersatz für das Santa-Set und ich dachte, dass man die Tiere ja das ganze Jahr über brauchen kann, aber jetzt, da ich damit gearbeitet habe, finde ich die Stempel absolut genial.
I changed the measurements a tiny bit, so that I could use a standard A4 paper, instead of the American size. If you are interested in the exact measurements, just leave a comment and I will add a graphic for it as soon as I can ;o) I love the images from the "Come Let Us Adore Him" set by Sugar Pea Design. Originally I had wanted the set with the three cute Santas, but with this set I talked myself into liking it at first by telling myself I could use the animal stamps all year long after all. However, now that I have worked with the images I am soooo glad I got them - they are absolutely adorable and so much fun to colour!
Den Hintergrund habe ich inspiriert durch Sandy Allnock selbst in Angriff genommen und bin auf das Ergebnis echt sehr stolz. Zeichnerisch bin ich nicht so unbedingt begabt, aber die vielen Tipps aus Sandys Videos haben mir sehr geholfen mich da überhaupt dran zu trauen!
I coloured the background inspired and enabled by Sandy Allnock's videos on YouTube. Even though I am not very talented when it comes to drawing anything free hand - and truly don't feel comfortable doing it - I am quite pleased with how this one turned out and I am very thankful for Sandy's tutorials!
 |
| This is what the mechanism of the card looks like, before everything is assambled. |
Die Vorderseite der Karte wollte ich recht schlicht halten und da das Kamel keinen Platz mehr im Stall gefunden hatte, habe ich es nach vorne verfrachtet, um dem Stern nach Bethlehem zu folgen. So konnte ich auch das Papier von innen noch einmal benutzen. Das lässt Karten immer noch eine Spur "runder" und professioneller erscheinen finde ich.
I wanted to keep the outside of the card rather plain and seeing as the camel didn't fit into the stable anymore I let it follow the star on the front of the card. That gave me a chance to use the paper, that I had used on the inside, again to tie everything together.
Falls ihr sehen wollt, wem
Jeanin eine Karte gebastelt und geschickt hat, klickt doch einfach
hier ;o) Und nur zur Sicherheit, liste ich euch hier einmal alle Teilnehmer auf - so verpasst ihr hoffentlich keine der tollen Karten:
If you are interested in seeing the card that Jeanin made for Biggi, just click here ;o) And just in case you might get lost along the way, I will list all the stops of the Blog Hop for you - that way you won't miss out on any of the inspiration and awesome cards:
Maike (du bist gerade hier)